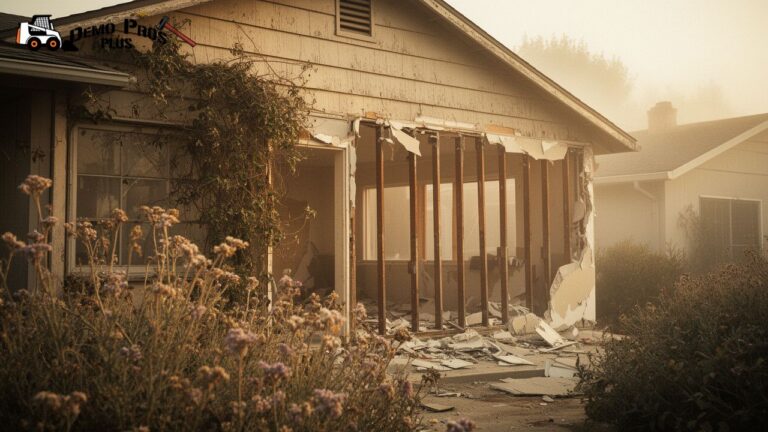

The garage demolition process consists of a sequenced series of steps, including site assessment, permit acquisition, utility disconnection, and the physical dismantling of the structure. A standard residential project usually requires two to five days to complete, from initial preparation to final site clearing. This timeline depends on whether the project involves a simple wooden shed or a complex brick structure with a concrete foundation.
This guide provides a detailed breakdown of how to tear down a garage using industry standards for safety and efficiency. The following information draws on years of field experience in structural removal to explain the technical requirements for a safe and compliant demolition. By following a structured demolition preparation checklist, property owners can ensure the project meets all local building codes and environmental safety standards.
Preliminary Site Assessment and Permitting
Before any physical work begins, a thorough inspection of the garage and its surroundings is necessary. This phase identifies potential hazards like overhead power lines, nearby trees, or shared walls with neighbors. A professional demolition company typically starts by assessing the structural integrity of the building to choose the safest method of removal.
Permitting is a legal requirement in most jurisdictions. According to data provided by HomeAdvisor, the average cost of garage demolition can vary significantly based on permit fees and local disposal rates. Most cities require a specific demolition permit to ensure the work does not interfere with public utilities or neighboring property lines. Failure to secure these documents can result in heavy fines and project delays.
Utility Disconnection and Hazardous Material Safety
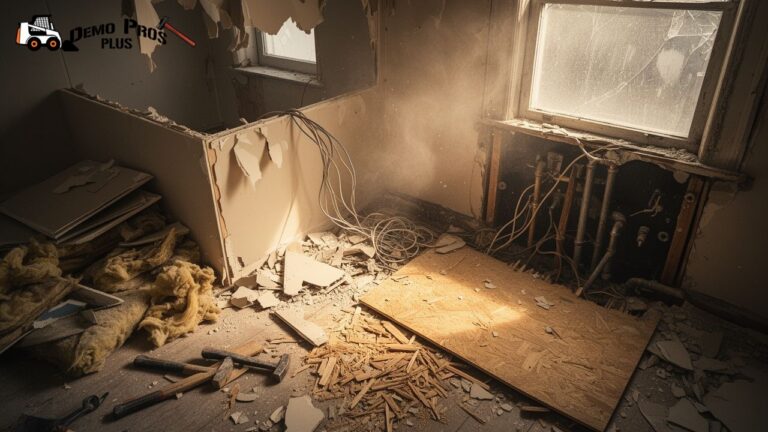
Safety starts with disconnecting all active services. Electricity, gas, and water lines must be capped or shut off at the source. It is not enough to simply turn off a breaker; in many cases, the local utility company must visit the site to verify that the garage is completely isolated from the main grid.
Hazardous materials are a significant concern in older structures. Buildings constructed before the late 1970s often contain asbestos in roofing shingles, siding, or insulation. A report by the Environmental Protection Agency explains that disturbing these materials can release dangerous fibers into the air. If asbestos or lead paint is present, a specialized abatement team must remove these materials before the general garage demolition process can continue.
Demolition Preparation Checklist
- Obtain necessary city or county demolition permits.
- Schedule utility disconnects for gas, water, and electricity.
- Inspect the structure for asbestos or lead paint.
- Notify neighbors of the scheduled demolition dates.
- Clear out all personal belongings and hazardous chemicals like paint or oil.
- Mark the location of septic tanks or underground lines.
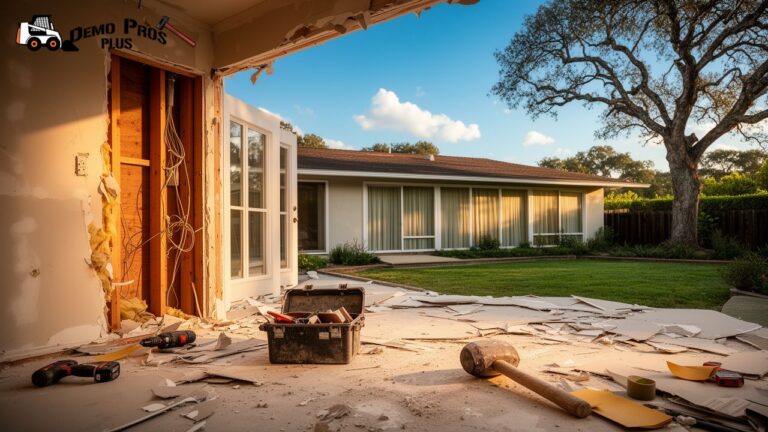
Interior Garage Demolition and Salvage
The next step involves interior garage demolition. This phase focuses on removing everything inside the shell of the building. Clearing out drywall, insulation, and shelving makes the final structural takedown cleaner and more organized.
Many property owners choose to salvage materials during this stage. High-quality lumber, windows, and doors can often be reused or sold. This practice reduces the total volume of waste sent to landfills. Taking the time to strip the interior manually often saves money on disposal fees later in the project.
Bonus Tip: Using a magnet sweeper during the interior phase helps collect loose nails and screws, preventing flat tires for the heavy machinery that arrives later.
Structural Takedown Methods
When the site is clear and utilities are safe, the physical dismantling begins. There are two primary ways to handle this. Manual demolition involves using hand tools and power tools to take the building apart piece by piece. This method is quiet and allows for maximum salvage of materials.
Mechanical demolition uses heavy equipment like an excavator or skid steer. This is the fastest way to complete the job and is standard for most residential demolition contractor services. The machine typically starts at the roof and works downward, pushing the walls inward to keep the debris contained within the garage footprint.
| Feature | Manual Demolition | Mechanical Demolition |
| Speed | Slow (3-5 days) | Fast (1 day) |
| Cost | Higher labor costs | Higher equipment rental costs |
| Noise Level | Low to Moderate | High |
| Salvage Potential | High | Low |
| Equipment Needed | Hand tools, ladders, saws | Excavator, skid steer, dump truck |
Garage Debris Removal Process
Once the structure is on the ground, the garage debris removal process begins. Managing waste is a major part of the project. Demolition debris is not typically handled by standard residential trash services; instead, it requires large roll-off containers or dump trucks.
A study on construction waste from the Environmental Protection Agency highlights that a large portion of demolition materials, including wood and metal, can be recycled. Sorting these materials on-site can lower disposal costs. Concrete and brick are usually separated from wood because they can be crushed and reused as road base or fill material.
Foundation and Slab Removal
After the walls and roof are gone, the concrete slab remains. Some homeowners choose to leave the slab for a future building or parking area. However, if the goal is to return the area to a natural state or plant grass, the concrete must be removed.
Removing a slab involves using a jackhammer attachment on a skid steer or a heavy sledgehammer for smaller areas. The concrete is broken into manageable chunks and hauled away. This step also includes removing any footings or underground anchors. Once the concrete is cleared, the soil beneath is often compacted or graded to prevent water from pooling where the garage once stood.
Bonus Tip: If the slab is in good condition but you want a different look, consider concrete grinding or resurfacing instead of full removal to save on costs.
Things to Consider Before Making a Decision
Choosing the right approach requires balancing budget, time, and future plans for the land. Consider whether the garage shares a wall with your home. Attached garages require much more care during demolition to avoid damaging the main house structure, which often involves hand tools and temporary bracing.
Another factor is the garage demolition timeline. While the physical teardown is fast, the planning and permit phase can take weeks. Checking local requirements early prevents the project from stalling. Also, think about the weather. Rain can turn a demolition site into a muddy mess, making it difficult for heavy trucks to move debris without damaging the yard.
Common Questions
Many people wonder if they can demolish a garage themselves. While it is possible for small, simple sheds, large garages often involve structural risks and complex utility lines. Hiring a professional demolition company ensures that the work is insured and meets all local safety regulations.
Another frequent question concerns the cost. Factors like the size of the garage, the materials used in construction, and the distance to the nearest recycling center all impact the final price. Structures with concrete block walls generally cost more to remove than those with simple wood framing due to the weight of the debris.
Essential Safety Protocols
During the entire garage demolition process, safety remains the top priority. Workers should always wear personal protective equipment, including hard hats, steel-toed boots, and eye protection. Dust control is also necessary. Using a water hose to spray down the structure during the takedown minimizes airborne particles, which is especially important if the garage is close to other homes.
Professional teams like Demo Pros Plus ensure that all safety boundaries are clearly marked with tape or fencing. This keeps unauthorized people and pets away from falling debris and heavy machinery.
What Happens During Demolition
The actual takedown is a fast-paced operation. Once the excavator begins, the roof is typically pulled down first. By collapsing the roof into the center of the structure, the walls are naturally pulled inward. This prevents debris from falling outward onto fences or neighboring properties. After the main structure is flat, the machine operator uses a “thumb” attachment on the bucket to grab large sections of material and place them into the dumpster.
Detailed Project Completion
The project is not finished until the site is clean and graded. Professional crews rake the area to remove small splinters of wood, glass, and metal. If the foundation was removed, the hole is filled with clean dirt and leveled. This final step is vital for preventing future sinkholes or drainage issues on the property.
Common Concerns Addressed
- Neighbor Impact: Noise and dust are the primary issues. Most contractors work during standard business hours to minimize disruption.
- Site Damage: Heavy equipment can leave ruts in the lawn. Using plywood paths can protect the grass.
- Hidden Costs: Foundational issues or buried tanks can increase the workload unexpectedly.
Common Questions Readers Ask
How long does the permit process usually take?
In most municipalities, a demolition permit takes between one and three weeks to process. This depends on the workload of the local building department and whether an environmental inspection for asbestos is required first.
Can I keep the concrete slab for a new project?
Yes, it is common to keep the existing slab if it is in good structural condition. However, a residential demolition contractor should inspect the slab for cracks or settling to ensure it can support the weight of a new structure.
Does insurance cover garage demolition?
Standard homeowners’ insurance usually does not cover the cost of a voluntary demolition. However, if the garage was damaged by a covered peril like a falling tree or a fire, the insurance company might pay for the removal as part of the claim.
What is the best way to handle dust?
The most effective way to manage dust is by lightly wetting the structure with a garden hose during the teardown. This prevents fine particles from blowing into neighboring yards or entering the main home.
Summary of the Demolition Journey
The successful removal of a garage depends on careful planning and a commitment to safety. From the first site walk-through to the final grading of the soil, each step serves to protect the property and follow local laws. Prioritize getting the right permits and ensuring all utilities are professionally disconnected. While mechanical demolition offers speed, manual methods provide the chance to recycle valuable materials. Homeowners should evaluate their specific site conditions and future landscaping goals before starting the process.
Expert Assistance for Your Project
Demo Pros Plus provides experienced structural removal services for residential properties. For a detailed discussion regarding your specific project needs, contact the team at (714) 605-1651 or reach out via email at mike@demoprosplus.com. Proper planning ensures a clean site and a safe transition for your next property improvement project.
Sources
- Environmental Protection Agency – Data regarding construction and demolition waste management and recycling.
- HomeAdvisor – Information on average costs and factors influencing demolition pricing.
- Environmental Protection Agency – Guidelines for identifying and managing asbestos in older residential structures.
- OSHA – Safety standards and regulations for demolition operations.